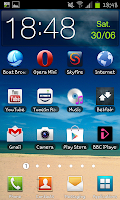
 When the Samsung Galaxy S2 first came out it was using the "Gingerbread" version of Android since then however the Galaxy S2 has been updated to "Ice Cream Sandwich" (or ICS). Whilst the update to ICS was a pretty big step forward it also changed a few things about how the phone operated, notably how a user took a screen shot.
 Originally to take a screen shot with the Samsung Galaxy S2
 a user had to press the Home Button and then swiftly press the power button, as described in our original guide.
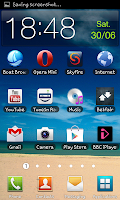
 Now however the user needs to press and hold both the volume down and the power button for around 2 seconds. After doing this the phone screen will "flash" and you will get a message like the one in the screen shot on the right with the phrase "Saving Screenshot..." This means your screenshot is taken.
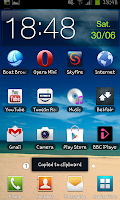
A few seconds after the "Saving" message you will see a new message saying "Copied to clipboard" then you are all done and the image is saved. From here you can either "Paste" the image into an e-mail or message (as long as it's still in your clipboard) or go into your gallery and find the "Screenshots" folder, where the screenshots will now be stored in.
Note-This isn't as easy as the old method, so you may find yourself needing practice. The best advice is to hold both buttons until the screen flashes, if the volume shows on the screen however try again.
No comments:
Post a Comment